

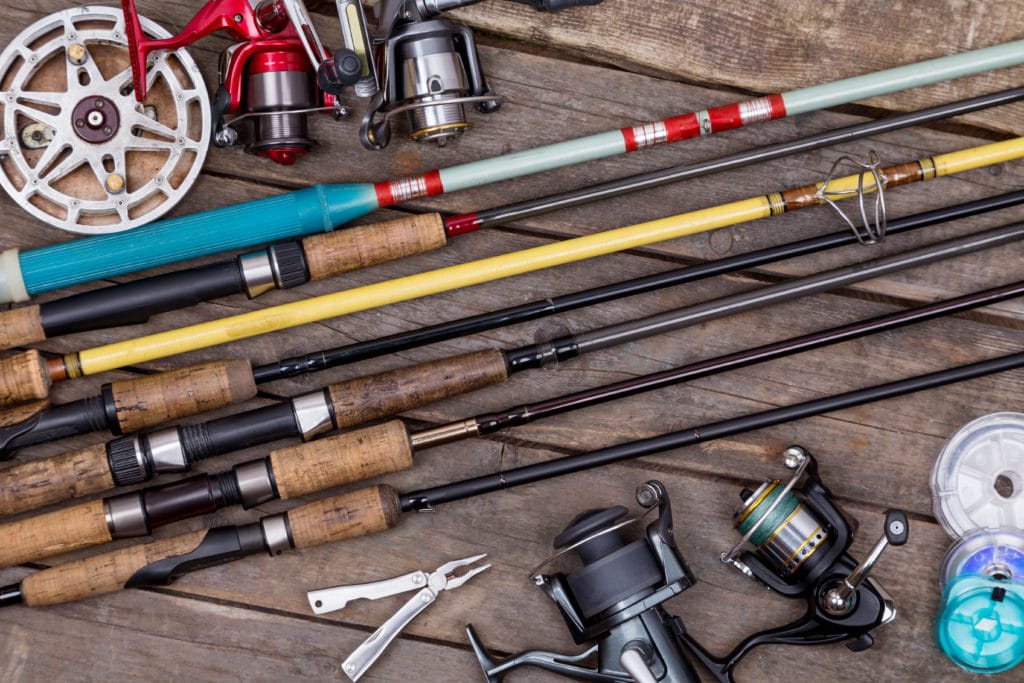
Fishing rods take a good beating, either when transporting or storing them, or when knocked around in rough waters.
Fishing rod guides, tips, and lines can all break easily, but there is no need to run out and buy a new rod.
You can fix and replace these and other parts of your fishing rod at home.
If you would like to get a few more uses from your rod, read on to learn more about repairing and maintaining your fishing rod and how to replace it if need be.
Contents
What You Will Need to Replace a Fishing Rod Guide
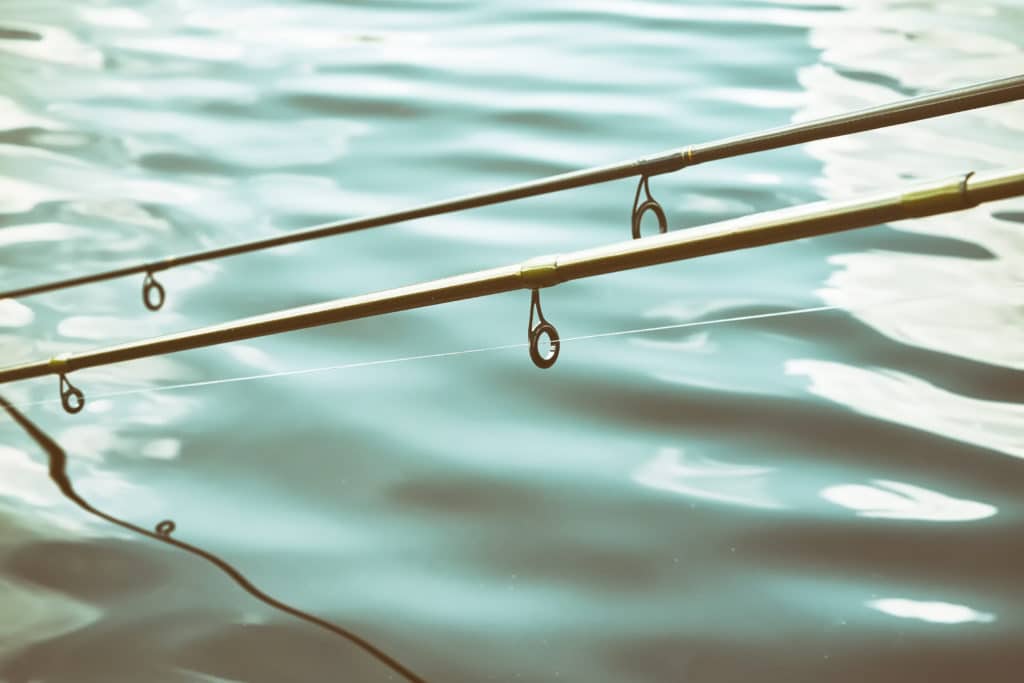
A fishing rod guide also called an eyelet, is one of the most important parts of the rod.
This is the section where the line is fed through. You cannot use your rod if one of these has broken off.
Replacing a fishing rod guide need not be an arduous task when you have the right tools.
We have done the research for you and put together a list of all the essential items you will need to repair the guide on your fishing rod.
These are inexpensive and should be kept alongside your tackle box for easy DIY repair jobs.
What you need to replace a fishing rod guide:
- A new guide
- A knife
- Cable ties
- Whipping thread or twine
- Epoxy sealer
- Acetone or rubbing alcohol
- A soft dry cloth
These items are all available at hardware stores or online. Some fishing supply stores have ready-made repair kits that you can purchase and keep in your tackle box for a quick repair wherever you are.
How To Replace a Fishing Rod Guide
Replacing a fishing rod guide is easy and anyone can do it. Here is how to do it.
Step #1: Prepare your surface area. Put down some old newspaper to catch any spills or drips.
Step #2: Remove the broken guide from the fishing rod. Use a knife to cut through the epoxy resin and remove the whipping thread that is holding the broke guide in place.
Step #3: Clean the area where the old guide was placed using some rubbing alcohol or acetone. Dry with a soft clean cloth.
Step #4: Place the new guide in position on the rod and cable tie it in place on either side of the guide. You can add a small dollop of glue to the back of the guide to hold it in place. Ensure that you are happy with the placement before you add the glue.
Step #5: Remove one of the cable ties and replace it with a new piece of whipping thread. Wrap the tape around the rod to keep the guide in place. Remember to wrap it tightly. Repeat this simple process on the other side of the guide too.
Step #6: Mix your sealer and brush it over the whipping thread. You can also place it on the rod to ensure that the tape does not move or slip on the rod. Put a rubber band over the epoxy sealer to hold everything in place while the epoxy dries.
Step #7: Once the epoxy is completely dry, which should not take more than 5 minutes, remove the rubber bands and you are good to go.
Maintenance and Care Tips for Fishing Rods
To keep your rod in tip-top condition, we have a few tips for you. With a bit of TLC, your rod can stay in tip-top condition for many years.
Here are our best maintenance and care tips for your fishing rod:
- Clean your rod after each use. A bucket of water, dish soap, and a soft sponge are all you need to clean your rod. After a thorough clean, dry it with a soft cloth or let it air dry in the sun.
- Remove your reel and give it a thorough clean after every fishing trip. Again, a bucket of soapy water and a sponge can get your reel looking brand new.
- Keep an eye on your line. If you notice that the line has started to slack or is wearing thin, replace it and re-spool your reel.
- Take a look a look at the handle of your fishing road. This, too, can wear down with excessive use. New handle coverings, which are usually made of a thick sponge, can be found at a fishing supply store, most hardware stores, and online. For a customized look, choose a grip tape in your favorite color. Grip tape is inexpensive and a good alternative to the normal handle you would find on a fishing rod.
- Take note of how you store your fishing rod. Store your rod in an upright position, taking care of rough-surfaced walls that could scratch your rod or damage the guides. Cover the handle with a pillowcase or a piece of old cloth to prevent scuffing. Covering your rod while storing it will also keep dust from accumulating in all the nooks and crannies of your rod.
- Transporting your rod should be done very carefully. If possible, take it apart and wrap each piece in a cloth before placing it in the trunk of your car. It’s best to reassemble your rod and attach the reel when you arrive at the destination where you will be fishing. For rods that do not come apart, you can cover the ends with a pillowcase and stand it up on the floor of the backseat with the top through an open window.
Final Thoughts
A fishing rod is obviously the most important piece of equipment for fishing.
Maintaining your rod is essential to keep it in good condition, and also to maintain its performance.
Cleaning your rod after each use can significantly lengthen the lifespan of your rod.
If the guides on your rod happen to snap, you can replace them yourself using the tips we have provided above.
Why discard it when you can fix it for next to nothing? A little bit of patience and some good old TLC will have your rod looking brand new in no time.


