
It doesn’t matter if you’re an avid fisherman or a beginner fisherman; when it comes right down to it, there are a few things that you have to know.
Sure, there are essential fishing techniques like how to hold the rod and cast, but at the primary level, understanding how to tie a fishing hook may be the most important thing you learn.
In this short article, we will look at why tying fishing hooks is so important and some basic fishing knots that you can utilize to ensure success on your next fishing excursions.
Contents
Why Is Tying Fishing Hooks Important?
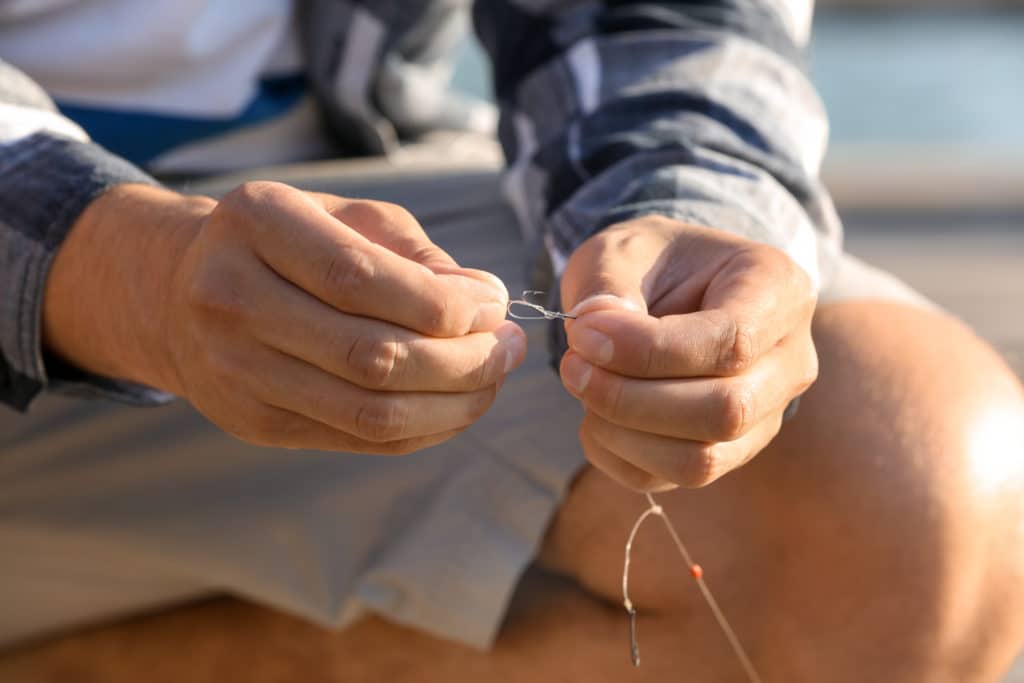
Tying a fishing hook may not seem like one of the most important skills for an angler to have, but it is.
Understanding how to tie your fishing hook will allow you to have several advantages in the water.
Since you will be able to hook the fish effectively, reel that fish in, and lose fewer hooks, you will find each of your adventures more successful in the long run.
All of which are key in ensuring that you enjoy your time on the water and not leave frustrated and empty-handed.
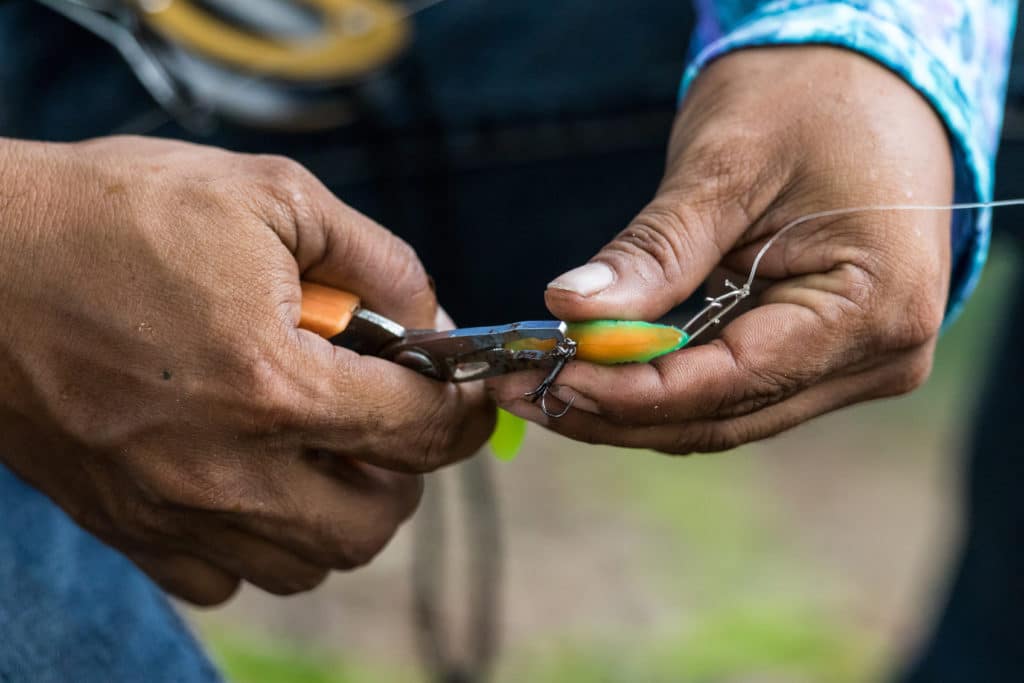
Some Basic Fishing Hook Knots
There is a wide range of fishhook knots utilized by avid anglers and novice fishermen in the sport.
But of these types of fishing knots, the ones below may be the most popular options when it comes to basic fishing knots.
Knotless
This knot is a quick and straightforward option perfect for those novice fishermen and women out there.
In order to execute this knot, you’re going to start by cutting the fishing line to the preferred size and looping it at the end.
Then you’re going to tie the loop and insert the line through the eye of the fishhook from front to back.
While doing this, hold the shank and then wrap the line around the head towards the end of the hook and line about six to eight times.
Then grab the other end of the line and push it through the hook’s eye, this time from back to the front.
When all that’s done, you will tighten the knot, moisten it while holding the hook, and then pull the other end firmly to finish it.
Clinch Knot
The improved clinch knot is an excellent option for anyone looking for a durable knot.
This fishing hook knot will be able to maintain strength no matter what type of fish the angler is hooking.
You’re going to start by working the end of your line through the hook’s eye and wrapping it around the body about seven times.
Then you’re going to take the end of the first loop and bring it back through the loose section.
You will pull both ends, which will tighten the knot, and then trim the extra fishing line.
Palomar Knot
This is one of those knots that cannot be used for sinkers or lures as it is specifically designed for efficiency.
It is best to use a braided line with this knot.
The process starts by folding over your fishing line and making a loop.
Then you will stick that loop through the hook’s eye.
You want to go over your hand and make a knot leaving some slack and then take the other portion around the end of the fishhook.
Then pull, tighten, and trim if necessary.
Dropper Knot
This knot is used primarily for bait fishing or a single hook combination style line.
You want to be cautious and not make too many loops; otherwise, you might find your fishing line getting a little tangled.
In order to execute this knot, you’re going to form a loop and wrap the end six times around the fishing line while holding one side of it.
Take the original loop and then stick it through the opening in the middle for both ends in opposite directions, and this will tighten the knot.
Surgeon’s Knot
This type of knot is specifically used to tie two fishing lines together.
Of course, you need to make sure that both lines have the same thickness.
You will start by taking both lines and overlapping them by a couple of inches on top of each other; then, you will tie an overhand knot and create a loop.
Take both ends through the eye and through the loop twice, and this will tie the four ends together.
Stopper Knot
A stopper knot is a great option if used with a bobber.
This is because it allows you to adjust the depth more efficiently.
The knot starts with the angler measuring out about half a foot of line.
You want to tie the stopper parallel to the line and create a loop and line by doubling back.
When this is done, you’re going to wrap it three or four times around each other, both of the lines together, and then pass that line through the open-loop each time you do so.
Once that is done, you can pull the end, which should tighten.
These are just some of the knots that you can use to attach your fishing lines either together or with hooks.
There is a multitude of different options that we did not cover.
Final Thoughts
It doesn’t matter which of the fishing hook knots you choose.
There are some essential tips that will help you execute them properly.
The first is that you want to follow the instructions as closely as possible to get the right knot type.
Other than that, you always want to add moisture to the knot before tightening it so that you can ensure it gets as tight as possible.
Holding the fishing hook carefully, watching the hook eye, and trimming excess line is also vitally important.
Above all this, practice, practice, practice!
Understanding the importance of executing a good fishing hook knot can change your experience completely.
We hope we have made your next fishing excursion so much better and more successful by giving you a quick look at all these knot options.


